NOTES APP
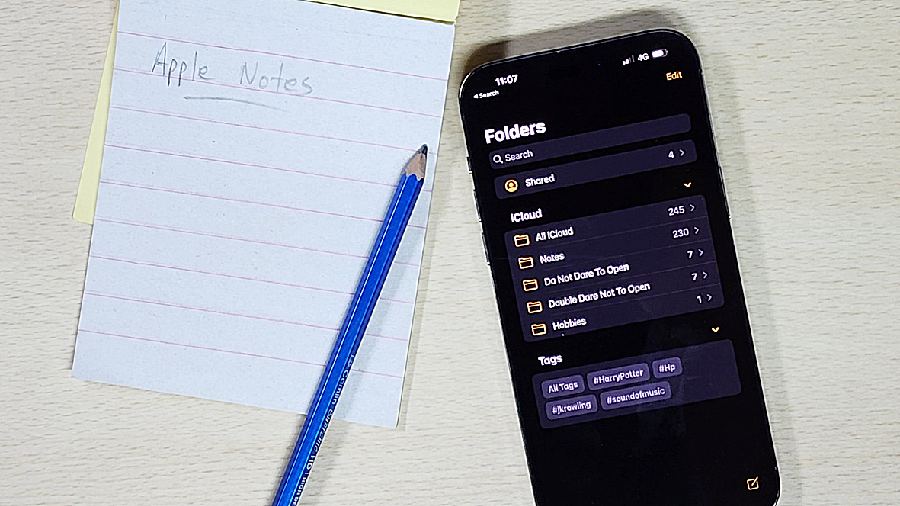
The Notes app works across the Apple ecosystem, meaning it integrates well with the MacBook, the iPhone and the iPad. There are folders like on any note-taking app and it gives a directory-like structure. You need to remember that the Note you are working on can be saved on the iCloud (can be shared among your Apple devices), locally (in case you don’t care about iCloud) or if you have logged in with your Google account. Most people would save it on the iCloud, so that all the Notes sync easily across Apple devices. Also, you can create new folders and subfolders.
The structure
The basic setup has one more option. Creating new folders will allow you to, well, create a new folder or turn it into a ‘smart folder’, which is interesting. In case you go with a ‘smart folder’, you can add tags. How does it help? For example, each day I create 10 notes around different office-related work, my hobbies and family activities. If I use a hashtag (like #techreview) it will make it easy to find by keywords among all my notes. It’s not something I would use all the time but, hey, you may have a different workflow.
Exploring options
Let’s get down to the actual process of making a Note. You can simply type out your thoughts or make it more presentable. For example, it’s easy to make a checklist, add a table or even a photo. To make it friendly, there are different styles that can be applied and these remind one of HTML-style coding. I keep switching between Notes and the Pages app because each has its use case. Notes app is for taking basic notes while with Pages you can create highly-formatted documents.
Then comes the various options or things you can do with a Note. There is a sharing option (Airdrop, iMessage and so on), the ability to add links, manage photos within the document and, very importantly, how to lock documents. More about this later.
There are several note-taking apps but Apple Notes has some unique capabilities. For example, Siri integration. I am sure we all have a love-hate relationship with Siri but in the case of Notes, it’s surprisingly helpful. Often, I begin a Note on the phone by asking Siri, which helps create notes on the fly. Since I almost always store it on iCloud, the note becomes accessible on my other Apple devices. The syncing aspect also makes Notes and other apps particularly helpful.

With Notes, you can capture a quick thought, create checklists, sketch ideas, and more. And with iCloud, you can keep your notes updated across all your devices

Once you write a ‘note’ or create a ‘reminder’, it can be synced easily
Lock kiya jaye
The ability to lock notes is something other note-taking apps don’t offer and if it does, I am not sure of the security aspect. Here, we have the ability to lock individual notes and the beauty of this is that it uses Apple’s fantastic built-in security system. Many people store Aadhar, PAN and other details in the Notes app and then lock it. It’s helpful. I think every note-taking app should have this ability.
All-powerful camera
Be it the MacBook, the iPad or the iPhone, the camera in each of the devices is of extremely good quality. The integration is something that I believe sets it apart. I begin a note on my iPhone about a weekend trip I’m planning with two school friends. I take a photo with my iPhone (or choose from the Gallery), add them to my Note and then mark-up parts of the text, add pointers and then move to my MacBook, make changes before sharing. It all happens seamlessly.
Not just adding pictures, I can easily scan text from pictures or books and see them get translated before my eyes in less than a second. This can be added to the note. The ability to convert text (on a picture) to simple editable text is brilliant. For example, you go on a work trip and decide to get all the bills converted and saved as a Note.
REMINDERS APP
Once you become used to this app, it will be difficult not to digitally jot down points. The app’s homescreen is easy to navigate if you know what you want. There are five boxes, which act like filters. As we create more reminders, the homescreen will begin to make more sense. There is a section called ‘My Lists’ and there is ‘Reminder’ by default. You can keep adding reminders. At the bottom of the screen you will find the option to create a new Reminder and ‘Add List’.
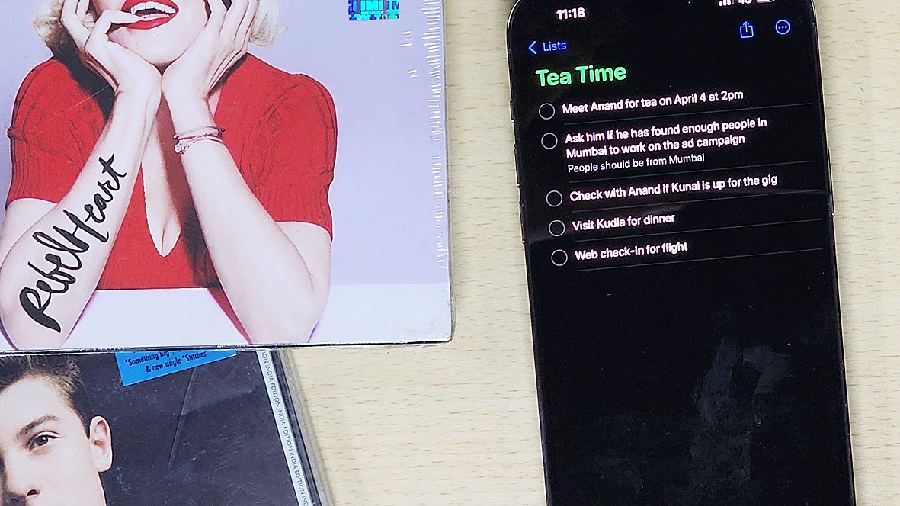
First, let’s separate a reminder from a to-do item. A reminder is something that you want to be reminded of, like meeting a business partner for breakfast or buying a gift for a birthday party your daughter needs to attend. These are tasks and tasks that need to be completed. Such reminders are date and time-sensitive. A to-do item is something that you need to do and then mark it off the list. You can set a completion date to the list. For example, you need to prepare for a family holiday, which involves booking flight/train tickets, getting warm clothes because the destination requires it, cab details when you make it to the location, hotel reservation and so on. Consider it like a note you have on your desk with several points. You are checking off items from the list.

Reminders app makes it easier than ever to remember the things you need to do. You can use it for all of life’s to-dos, including grocery lists, projects at work, or anything else you want to track
How to create it?
The easiest way to create a Reminder is by tapping on the bottom left of the iPhone. Give it a title, like ‘Meeting Vishal for breakfast.’ You can either leave the ‘notes’ section blank or add a small note, like ‘Don’t forget to ask Vishal how many people need to be hired to complete the Cape Cola advertisement campaign and deployment… only in Mumbai.’
Next, add details. You can add a date and time, so that you are reminded at a specific time. Select ‘Add’ button to create a simple reminder. At once, on the app’s homescreen, you will have a notification that a reminder has been created.
Let’s now try to create a travel-related list. Choose ‘Add List’. Let’s name the list ‘Holiday’ and you can add an icon for the list as well as a background colour. Tap on the list section on the app’s homescreen and then you will come across something called ‘New Reminder’ at the bottom of the screen. Instead of adding a reminder, ask Siri to add an item to the list, “Add to my ‘Holiday’ list: Call hotel manager Shiladitya once you reach Goa.”
At this point, let’s look at how to use Siri and when to use Reminders. It’s easy to activate Siri and say, “Tomorrow, call the Mexican restaurant in Goa at 11am,” which will create a Reminder for 11am.” But if you want to add something to the list, you have to say ‘add this to my [holiday] list’.
The Reminders app can do a lot
Let’s create a list called ‘Shopping’. I want to share this list with my wife and to do that, tap on the ‘share’ button. You will have to choose how you want to share the access link. Once I share it through, say, iMessage, an icon appears on top of the list. If you tap on that, you can manage the shared list. Now I ask Siri, “Add milk to my ‘shopping’ list.” My wife thinks that we also need to get eggs, sugar and flour to bake a cake. She can add those to the list. That’s not enough. She wants to specify how much sugar is needed, so she adds ‘250g’ to the item ‘sugar’. I can change that to ‘300g’.
There’s more you can do. For example, I want a ‘Restaurant’ list on which the first item is ‘Ask team to meet at Arindam’s place at 9pm tomorrow.’ Next on the list I want to add a reminder, like ‘Ask each team member to create a menu for Ishan’s wedding.’ For this I can add a date and time. Plus, I can flag it as high-priority. To this, I want to add sub-tasks to the item on the list, like ‘Decide on cutlery’, ‘Get a quotation on liquor.’ This way a list can have a reminder as well as a sub-task list. Once you flag an item as priority, the main screen will also show that there is a flagged item. To make it more user friendly, add tags with which you can scan through all the Reminders.
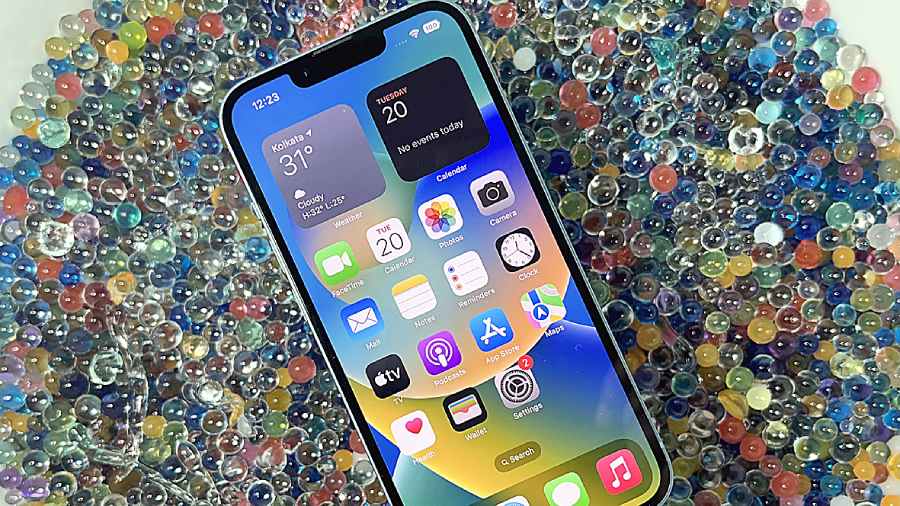
One more helpful feature, you can add the Reminders widget to the homescreen of your iPhone and also access it on your Apple Watch.
Pictures: The Telegraph
